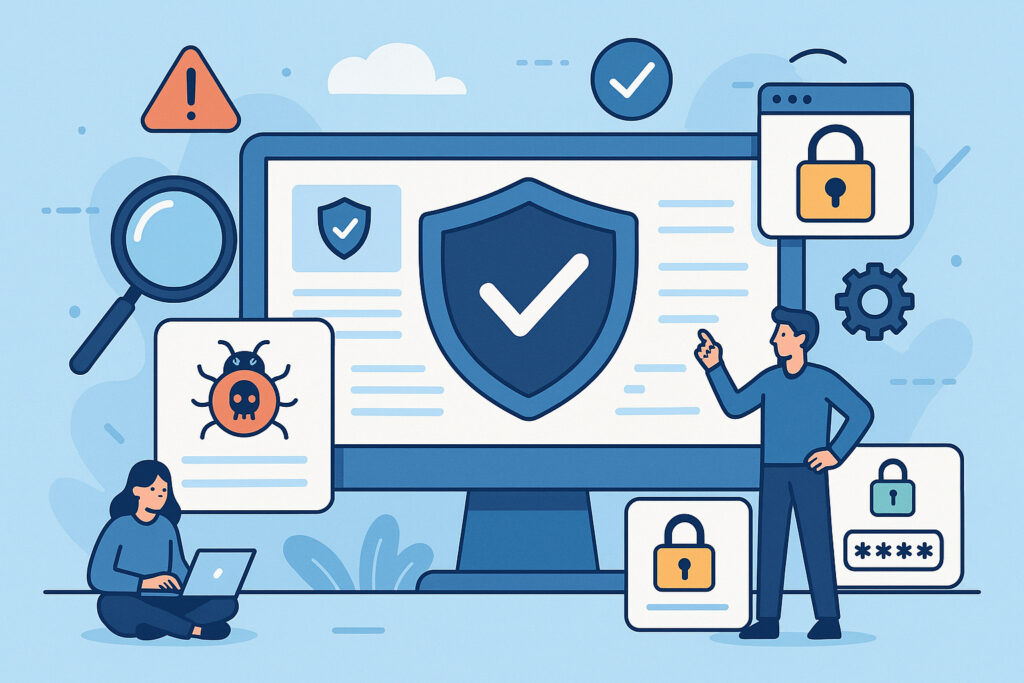
If you run a website – whether it’s a business site, an online store, or a WordPress blog – you need a website security checklist that you actually follow. Not a vague intention to “look into security someday,” but a concrete set of steps you can work through and verify. This guide gives you exactly that: 15 essential steps that cover the most critical areas of web application security, from basic hygiene to proactive monitoring.
I’ve managed dozens of sites across multiple Debian servers for years, and the pattern is always the same. Nobody thinks about security until something breaks. A client calls in a panic because Google is showing a “This site may be hacked” warning, or visitors are getting redirected to pharmacy spam. The cleanup is always painful, always expensive, and almost always preventable.
1. Keep Everything Updated
This is the single most impactful thing you can do. Outdated CMS installations, plugins, and server packages are the low-hanging fruit that automated scanners look for first. On a Debian server, run apt update && apt upgrade on a weekly schedule. For WordPress, enable auto-updates for minor core releases at minimum.
I’ve seen sites compromised through a plugin that had a known patch available for three months. The fix took the developer five minutes to apply. The breach took five days to clean up.
2. Use Strong, Unique Passwords
Every access point needs its own complex password – hosting panel, SSH, database, CMS admin, FTP, and email. Use a password manager. If your admin password is “company2024” or anything a human could guess, you’re one brute force attempt away from disaster.
3. Implement Two-Factor Authentication
Passwords get leaked, phished, and guessed. Two-factor authentication stops attackers even when they have valid credentials. Enable 2FA on your CMS admin, hosting control panel, and any service that supports it. A TOTP app on your phone adds seconds to your login and years to your site’s safety.
4. Scan for Malware Regularly
You can’t fix what you can’t see. Automated daily scanning catches infections early – often within hours instead of weeks. Look for a solution that checks file integrity, detects suspicious code patterns, and monitors for unauthorized changes. Manual checking simply doesn’t scale when you manage multiple properties.
The real danger is the gap between infection and detection. A site can serve malicious content for weeks before anyone notices, and by then Google may have already flagged your domain.
5. Install and Maintain SSL/TLS
HTTPS is non-negotiable in 2026. SSL encrypts traffic between your server and visitors, prevents session hijacking, and is a confirmed ranking signal. Let’s Encrypt provides free certificates that auto-renew. But don’t stop at installation – monitor your certificate expiry, check for mixed content warnings, and verify your TLS configuration regularly.
6. Configure Security Headers
Security headers like Content-Security-Policy, Strict-Transport-Security (HSTS), and X-Frame-Options are often overlooked. They add a critical defense layer against XSS attacks, clickjacking, and protocol downgrade attacks. Most can be configured in your Apache or Nginx config in minutes. If you’re unsure where to start, a breakdown of CSP, HSTS, and X-Frame-Options will get you up to speed quickly.
7. Limit Login Attempts
Brute force attacks try thousands of password combinations per minute. Limit failed login attempts to 3–5 before locking the IP for 15–30 minutes. On WordPress, plugins like Limit Login Attempts Reloaded handle this. On the server side, fail2ban can block repeat offenders at the firewall level.
8. Remove Unused Plugins and Themes
Every installed component is attack surface – even if it’s deactivated. I once audited a site with 40+ plugins, only 11 active. Each inactive one still had files on the server, reachable by any scanner looking for known vulnerabilities. Delete what you don’t use. Plugin vulnerabilities remain the single biggest WordPress security threat, so keep your footprint small.
9. Disable File Editing in the CMS
WordPress lets admins edit theme and plugin files directly from the dashboard. If an attacker gains admin access, this feature gives them a built-in code editor. Add define(‘DISALLOW_FILE_EDIT’, true); to your wp-config.php. It takes ten seconds and removes an entire attack vector.
10. Set Proper File Permissions
On Linux servers, directories should be 755 and files 644. The wp-config.php file should be 600 or 640. Never use 777 – it grants read, write, and execute to everyone. After migrations, hosting changes, or bulk updates, permissions sometimes get reset. Check them.
11. Backup Your Site – and Test Restores
Backups are only useful if they work. Automate daily backups, store copies off-site (not just on the same server), and test a restore at least once a quarter. I’ve personally witnessed situations where someone’s “daily backup” turned out to be a cron job that had silently failed for months. Verify.
12. Hide CMS Version Information
Attackers use version numbers to match your site against known vulnerability databases. Remove version meta tags from your HTML head, strip version strings from script and stylesheet URLs, and suppress server version headers in Apache with ServerTokens Prod.
13. Secure Your Database
Change the default table prefix – wp_ is the first thing automated SQL injection tools look for. Use a strong database password, restrict user privileges to only what the application needs, and ensure the database isn’t accessible from external IPs. On most setups, binding MySQL to 127.0.0.1 is sufficient.
14. Monitor Access and Error Logs
Logs tell the story of what’s happening on your server. Review them weekly at minimum. Watch for repeated 404s on suspicious paths (wp-login.php, xmlrpc.php, .env), login attempts from unusual geolocations, and sudden traffic spikes to admin endpoints. These patterns often signal active probing or an attack in progress.
15. Have an Incident Response Plan
When a breach happens – and statistically, it will – you need a documented plan. Who gets notified? How do you isolate the compromised site? Where are backups stored? What’s the step-by-step recovery procedure? Writing this down during a calm moment saves hours of panic during a real incident. Include contact details for your hosting provider, DNS provider, and anyone with server access.
The Myth That Kills Small Sites
“My site is too small to be a target.” I hear this constantly, and it’s the single most dangerous misconception in website security. Automated bots don’t browse the web looking for high-value targets – they scan entire IP ranges for known vulnerabilities. Your small WordPress blog runs on the same software as million-dollar e-commerce stores. If you’re running an outdated plugin with a known exploit, the bot doesn’t care how much traffic you get. It will find you.
Frequently Asked Questions
How often should I go through my website security checklist?
At minimum, run through the full checklist monthly. Some items – like updates and malware scanning – should happen weekly or daily through automation. After any major change to your site (new plugin, server migration, redesign), do a complete review immediately.
Can I automate most of these security steps?
Many of them, yes. Updates, backups, malware scanning, and login attempt limiting can all run automatically. But automation doesn’t replace human oversight. You still need to review logs, test backups, audit installed plugins, and update your incident response plan periodically.
Is a security checklist enough to fully protect my website?
A checklist is a strong foundation, but security is layered. Combine these steps with a web application firewall, regular vulnerability scanning that covers OWASP categories, and ongoing monitoring. No single measure is bulletproof – the goal is to make your site hard enough to breach that attackers move on to easier targets.
Wrapping Up
You don’t need to implement all 15 steps today. But start with the critical ones: update everything, enable SSL, set up automated backups, and begin regular malware scanning. Then work through the rest systematically over the next few weeks. Every step you complete closes another door that attackers could walk through. The time you invest now is a fraction of what a breach recovery would cost you.