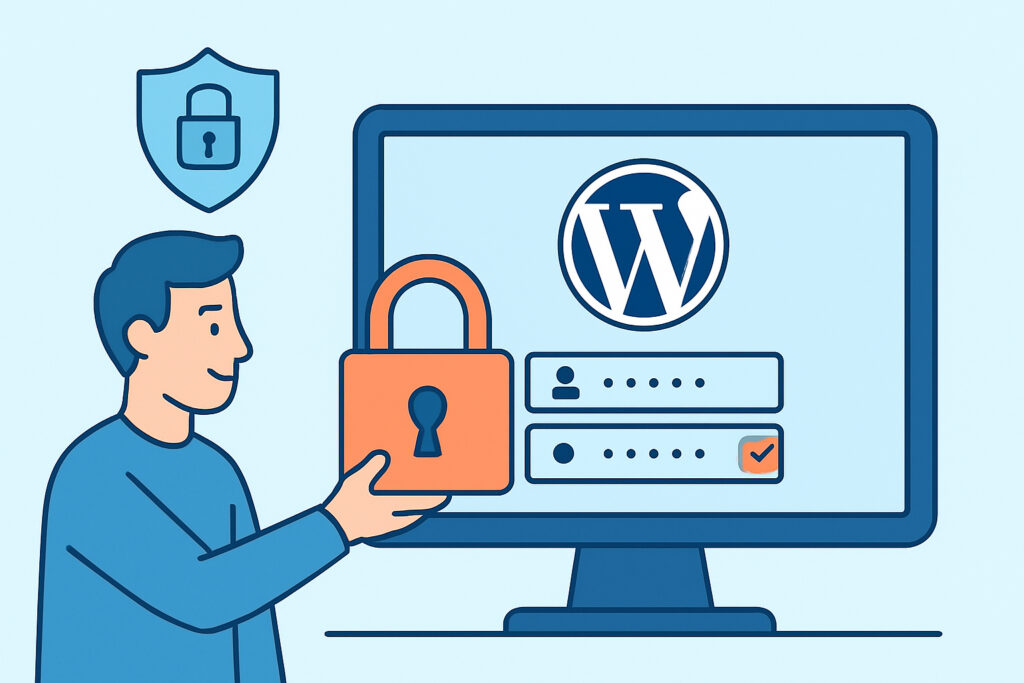
Securing the WordPress admin panel is one of the most critical steps in any WordPress security hardening strategy. The admin dashboard is the single point of control for your entire site – plugins, themes, users, content – and attackers know this better than most site owners do. This article walks through 10 concrete steps to lock down your WordPress admin panel, explains the reasoning behind each one, and flags the mistakes that leave sites exposed even after teams think they’ve secured things.
Why the Admin Panel Is a Primary Attack Target
WordPress powers over 40% of the web. That scale makes it a profitable hunting ground for automated bots and targeted attackers alike. The admin login page at /wp-admin/ is publicly accessible by default, and its location is universally known.
Attackers don’t just try manual logins. They run credential stuffing campaigns, exploit known plugin vulnerabilities, and look for misconfigurations that give them a backdoor without ever touching the login form. Understanding the most common WordPress security vulnerabilities makes it much easier to prioritize which controls actually matter.
Step 1 – Change the Default Admin Username
Creating a WordPress site with the username “admin” remains one of the most common mistakes in 2025. Automated attack tools assume this username by default, so using it cuts an attacker’s work in half – they only need to guess the password.
Create a new user with administrator privileges, assign a unique username, then delete the original “admin” account. Reassign any existing content to the new account during deletion.
Step 2 – Enforce Strong Password Policies
WordPress enforces a password strength indicator, but it doesn’t block users from setting weak passwords when the setting is overridden. Install a plugin like WPassword or enforce policies through your user management workflow.
Admin passwords should be at least 20 characters, include mixed case, numbers, and symbols, and should never be reused across services. A compromised email account with a shared password is a common entry path.
Step 3 – Enable Two-Factor Authentication
Two-factor authentication (2FA) is the single most effective control for protecting the admin login. Even if credentials are leaked, an attacker without the second factor cannot log in.
Plugins like WP 2FA or Google Authenticator for WordPress make this straightforward to implement. Require 2FA for all administrator and editor accounts – not just the main admin.
Step 4 – Limit Login Attempts
By default, WordPress allows unlimited login attempts. This makes brute force attacks trivially easy – a bot can cycle through thousands of password combinations without any friction.
Install a plugin such as Limit Login Attempts Reloaded or WP Cerber to restrict failed login attempts per IP. Configure lockouts after 3–5 failed attempts and set progressive delay penalties for repeat offenders.
Step 5 – Restrict Access to wp-admin by IP
If the admin panel only needs to be accessible from specific locations – an office network, a VPN, or a fixed home IP – restrict access at the server level using .htaccess rules (Apache) or Nginx configuration blocks.
This is one of the most underused controls. Even a partial IP allowlist significantly reduces the attack surface. Combine it with a VPN requirement for remote access to keep flexibility without sacrificing protection.
Step 6 – Move or Rename the Login URL
Renaming the default login URL from /wp-admin/ or /wp-login.php to something non-standard won’t stop a determined attacker, but it eliminates nearly all automated scanning traffic targeting default paths.
Plugins like WPS Hide Login handle this without editing core files. This is a low-effort, high-reward step that reduces server load from bot traffic and removes the easiest reconnaissance signal.
Step 7 – Keep WordPress Core, Themes, and Plugins Updated
Outdated software is consistently the top root cause in WordPress compromises. Plugin vulnerabilities in particular account for the majority of WordPress site breaches – a vulnerable plugin installed on thousands of sites becomes a mass-exploitation target within days of a public disclosure.
Enable automatic updates for minor core releases. Review plugins regularly and remove any that are no longer maintained. An unmaintained plugin with a known vulnerability is essentially an open door.
Step 8 – Implement HTTP Security Headers
Security headers are frequently overlooked during WordPress hardening. Headers like X-Frame-Options, Content-Security-Policy, and Strict-Transport-Security protect the admin interface against clickjacking, cross-site scripting injection, and protocol downgrade attacks.
These can be added via your server configuration or through a security plugin. Understanding what each header does before implementing them prevents misconfigurations that break functionality while providing false security assurance.
Step 9 – Disable XML-RPC If Not Needed
XML-RPC is a remote API that enables external applications to communicate with WordPress. It’s also a well-known attack vector – it can be used to amplify brute force attacks by allowing hundreds of credentials to be tested in a single HTTP request.
Unless you actively use XML-RPC for a legitimate integration (Jetpack, mobile apps, certain plugins), disable it. This can be done via .htaccess, a plugin, or your firewall configuration. Most sites running XML-RPC don’t actually need it.
Step 10 – Audit User Accounts and Roles Regularly
Over time, WordPress installations accumulate user accounts – former employees, contractors, agency accounts, and test users that were never deleted. Each unnecessary administrator account is an additional attack surface.
Conduct a quarterly user audit: remove inactive accounts, downgrade permissions to the minimum necessary role, and verify that no unknown accounts have been added. Unexplained new admin accounts are one of the clearest indicators of a compromise.
The Myth That HTTPS Protects the Admin Panel
A persistent misconception is that having SSL/TLS in place means the admin panel is secure. HTTPS encrypts data in transit – it says nothing about whether your login is protected against brute force, whether your plugins are patched, or whether your credentials have been exposed in a data breach.
HTTPS is necessary but far from sufficient. Every step above remains relevant regardless of whether the site runs on HTTP or HTTPS.
Frequently Asked Questions
Does hiding wp-admin actually improve security?
It provides a minor but real reduction in automated attack traffic. Bots and scanners targeting default WordPress login paths will fail immediately, which reduces noise and server load. It should not be the only measure in place – it’s one layer among several.
How often should WordPress admin accounts be audited?
At minimum, quarterly. Any time a team member leaves, their account should be disabled or deleted immediately – not left for the next scheduled review. Role changes (contractor becoming full-time, or the reverse) should trigger an immediate permission update.
Is it enough to use a security plugin for all of this?
Security plugins cover many of these controls – login limits, 2FA, header injection, file integrity monitoring. But no single plugin handles everything, and plugins themselves can introduce vulnerabilities. A layered approach using server-level controls, plugin-level controls, and regular scanning gives much more reliable coverage than relying on any one tool.
Summary
Securing the WordPress admin panel isn’t a one-time task – it’s an ongoing posture. The 10 steps above address the most common attack vectors: weak credentials, unrestricted login access, outdated software, missing security headers, and unnecessary exposed endpoints.
Start with the highest-impact controls first: strong passwords, 2FA, and login attempt limits. Then layer in IP restrictions, URL changes, and regular audits. Each additional control makes automated and targeted attacks meaningfully harder, and the combination of all ten makes the admin panel genuinely difficult to compromise.